
Achieving a flawless blow-dry at home can seem totally impossible – especially when you’ve watched your favourite hairdresser work her magic on your mane. What they do seems beyond humanly possible and it can seem like an insane achievement if you can produce anything even close.
But, with the right tools, techniques, and products, you can transform your hair into a salon-worthy masterpiece. Even if you’re a beginner.
Whether you’re looking to add volume, sleekness, or bounce, mastering the art of the blow-dry is an essential skill to add to your beauty repertoire.
Let me walk you through each step of the process, from prepping your hair to selecting the perfect styling products.
Table of Contents
1. Start with Clean, Conditioned Hair
The foundation of a blowdrying begins with freshly washed and conditioned hair. Use a high-quality shampoo and conditioner suited to your hair type to ensure your locks are clean and moisturized. If your hair tends to be dry or damaged, consider using a hydrating or repairing conditioner to nourish your strands. If you really want to up your hair game, switch to salon-quality products. The extra cost pays for itself in shine and hair health.
2. Towel Dry Gently
After washing your hair, gently towel dry to remove excess moisture. When I say towel-dry, I don’t mean rub at it with a beach towel. Get yourself a microfibre hair wrap and gently dab away the excess water until your hair is just damp.
Avoid rubbing your hair vigorously with the towel, as this can cause frizz and damage. Instead, gently squeeze and blot your hair to remove water without roughening the hair cuticle.
3. Apply Heat Protection
Before subjecting your hair to heat styling tools, it’s crucial to apply a heat protectant spray or serum. This product forms a protective barrier around the hair shaft, minimizing damage from the heat of the blow dryer.
Spray or apply the heat protectant evenly throughout your hair, focusing on the mid-lengths and ends where damage is most likely to occur.
If you’re looking for a recommendation, I love the WOW spray (and I also rate the much cheaper copy that Aldi does!)
4. Choose the Right Blow Dryer
Investing in a high-quality blow dryer can make a world of difference in achieving the perfect blowout. Look for a dryer with multiple heat and speed settings, as well as a nozzle attachment to concentrate airflow. My preference is the mdlondon BLOW hairdryer. I swear it helps reduce frizz and damage.
5. Select the Appropriate Brush
The type of brush you use plays a significant role in the outcome of your blowout. For a smooth, sleek finish, opt for a round ceramic or boar bristle brush. If you’re aiming for volume and bounce, a vented or round brush with nylon or natural bristles can help lift the roots and create movement in your hair.
You could also invest in brush head rollers. These come in a set with one brush handle and several ceramic brush heads. They work by wrapping your hair around the brush barrel as you blast it with the hair dryer, then the barrel detaches and stays in your hair until it’s cool. This helps to set the style.
6. Section Your Hair
To ensure thorough drying and styling, divide your hair into manageable sections using clips or hair ties.
Start by sectioning off the bottom layer and gradually work your way up to the top of your head. This technique allows you to focus on one section at a time, ensuring each strand is properly dried and styled.
7. Begin Blow Drying
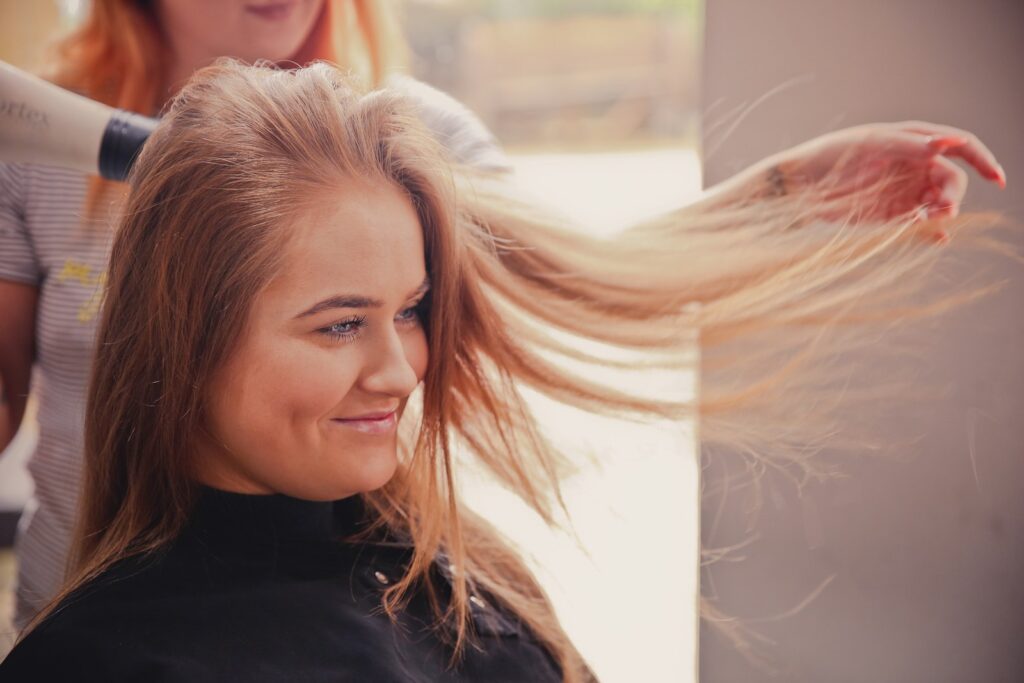
With your hair divided into sections, it’s time to start blow drying. Attach the nozzle to your dryer and set it to the desired heat and speed settings. Starting with the bottom section, use your brush to lift the roots and guide the airflow from the dryer downwards along the hair shaft. Continue working through each section, focusing on smoothing and shaping the hair as you go.
8. Use the Cool Shot
Once each section is dry, switch your dryer to the cool setting and give your hair a blast of cold air using the cool shot button. This helps to set the style and seal the hair cuticle, resulting in a smoother and shinier finish.
9. Add Finishing Products
To enhance the longevity and finish of your blowout, apply a small amount of styling product to your hair. For added volume and hold, try a volumizing mousse or root-lifting spray at the roots. If you prefer a sleeker look, smooth a lightweight serum or oil through the lengths and ends of your hair to tame frizz and add shine.
10. Final Touches
Once you’ve completed your blowout, take a moment to assess your hair and make any final adjustments. Use your fingers or a comb to smooth any stray hairs or uneven sections, and add additional product as needed to perfect your style.
Equipment You’ll Need:
- Blow Dryer: Look for a high-quality dryer with multiple heat and speed settings and a nozzle attachment.
- Brushes: Choose a round ceramic or boar bristle brush for a smooth finish, or a vented or round brush for volume and bounce.
- Heat Protectant: Essential for protecting your hair from heat damage, choose a spray or serum suited to your hair type.
- Clips or Hair Ties: Use these to section your hair and keep it out of the way while blow drying.
- Styling Products: Select styling products such as mousse, root-lifting spray, serum, or oil to enhance your blowout and add hold, volume, or shine.
By following these steps and using the right tools and products, you can give yourself the perfect blowout right in the comfort of your own home. With practice and patience, you’ll soon be able to achieve salon-worthy results every time you style your hair.